How to get auto-marked junk mail to automatically go to the junk folder?
Thunderbird marks most junk mail as junk (it enables the flame icon and marks it as read), but it isn't sending the email to the Junk folder, and I'm not seeing an option to make this happen. I want this app-wide, not just account-wide.
If I right-click the email an click Mark > As Junk, it's then moved to the Junk folder. If marking it manually as junk moves it to the Junk folder, I don't understand what Thunderbird thinks it's doing when it marks it as read and enables the flame icon instead.
What exactly is considered marking it as junk? Is moving it to the Junk folder only a manual option? If I'm going through emails, there's no reason a marked-read flame-enabled email should be the next one to appear.
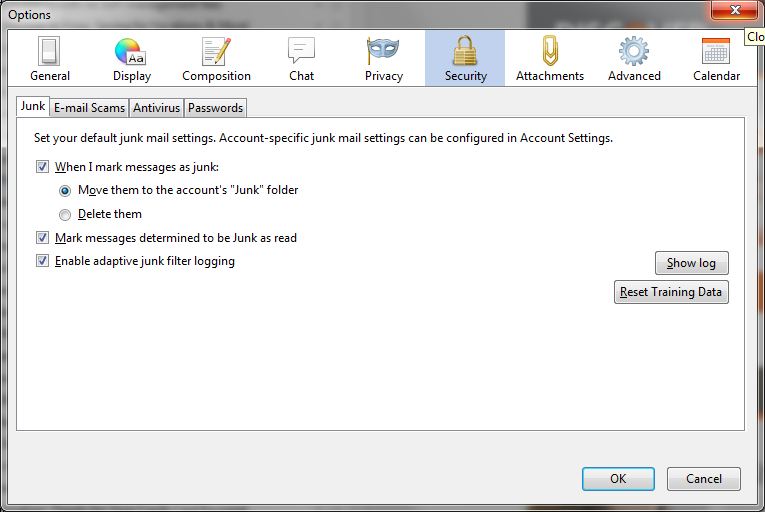
A screenshot of my junk settings are attached.
Solution choisie
The behavior of what to do with Junk e-mail is set both with that option in the program options, and an account option.
1. Right-click your account in the normal folder view of Thunderbird and choose Settings.
2. Select Junk Settings on the left side for the account.
3. On bottom of the right side is the setting for what Thunderbird is supposed to do automatically for Junk/Spam for that account. Select the option to Move new junk messages to, then select the folder for where Junk is supposed to go to for that account.
An IMAP server will have it's own Junk/Spam/Bulk folder. You should use the second option Other, and then go through the pop up boxes to find the correct folder.
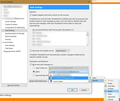
In my screenshot below, you see how this process works for a Gmail account.
Lire cette réponse dans son contexte 👍 14Toutes les réponses (1)
Solution choisie
The behavior of what to do with Junk e-mail is set both with that option in the program options, and an account option.
1. Right-click your account in the normal folder view of Thunderbird and choose Settings.
2. Select Junk Settings on the left side for the account.
3. On bottom of the right side is the setting for what Thunderbird is supposed to do automatically for Junk/Spam for that account. Select the option to Move new junk messages to, then select the folder for where Junk is supposed to go to for that account.
An IMAP server will have it's own Junk/Spam/Bulk folder. You should use the second option Other, and then go through the pop up boxes to find the correct folder.
In my screenshot below, you see how this process works for a Gmail account.


